When we moved into our house in September and I finally had an office space to work in, I was ecstatic.
We quickly accumulated the furniture needed to have a fully functioning office from Ikea and UW Swap Shop. Our office chairs, which cost $20 each, were very comfortable to sit in but esthetically, left something to be desired. Here’s what they looked like originally:
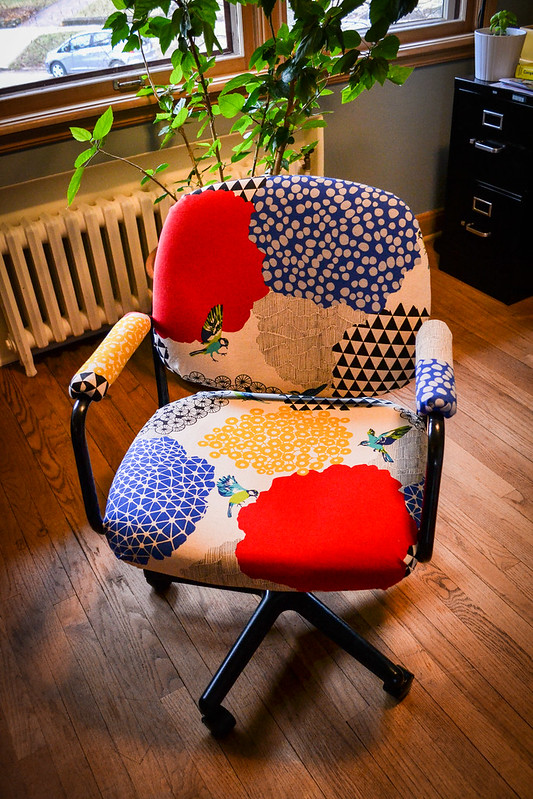
And here’s what one of them looks like now:
This was our second upholstery project, the first being the headboard we made for our old guest bedroom that moved with us to the new guest bedroom. I’ve been on the lookout for fabric that would make these chairs exciting for a couple weeks now, and I fell pretty quickly in love with this Echino fabric from The Sewcial Lounge. Jason was slightly skeptical, and they only had enough fabric for one chair, so we agreed to do just my chair and worry about his later.
Anyways, there is quite a bit of information out there on the internet on how to reupholster chairs, but we’ll give you our own tutorial, just for good measure. Here’s what you need:
- about 1-2 yards of fabric, depending on the size of your chair
- allen wrench, hammer, screwdriver and such to take apart the chair
- staple gun
- spray paint (we used a high gloss black Rustoluem)
- large tarp
- stray-on upholstery adhesive (depending on how your chair is built, you may or may not need this)
- weights (may or may not need this)
Once you’ve got your materials, here’s how you upgrade your chair:
Step 1: Take Apart The Chair
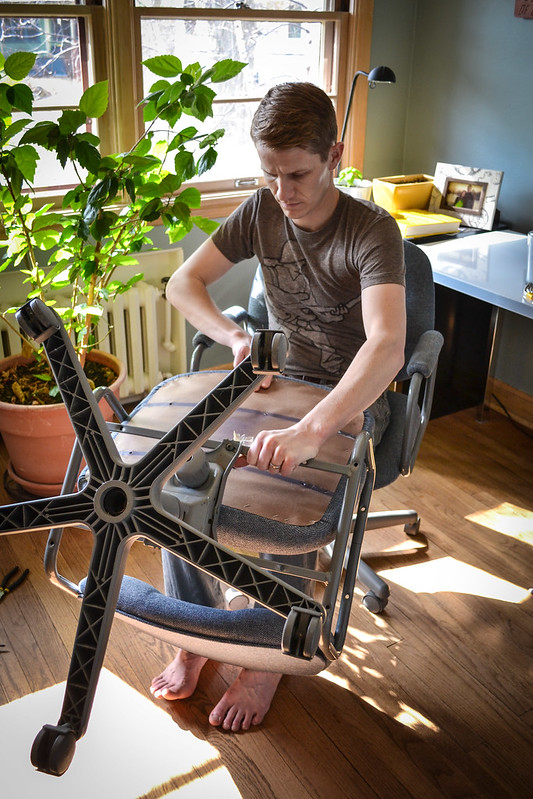
All office chairs are different, but here’s what ours looked like. We took the bottom off the frame:
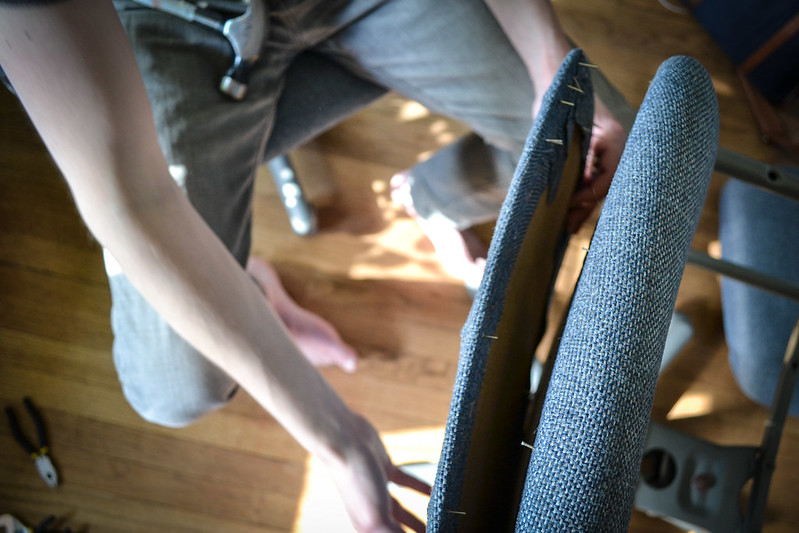
And then the back which was attached with nails:
Of course because nothing can be that easy, one of the bolts was completely stripped and we ended up using a Dremel to just saw it off:
Hopefully you don’t run into that.
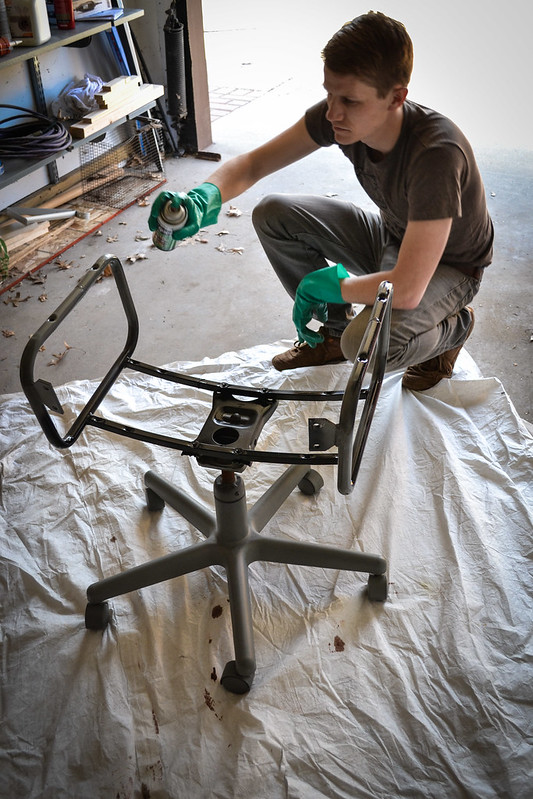
Step 2: Spray Paint the Frame
This is pretty straight forward.
Our chipping grey frame looked like this at the end:
Let the frame dry for at least 24 hours.
Step 3: Measure, Cut, and Iron the Fabric
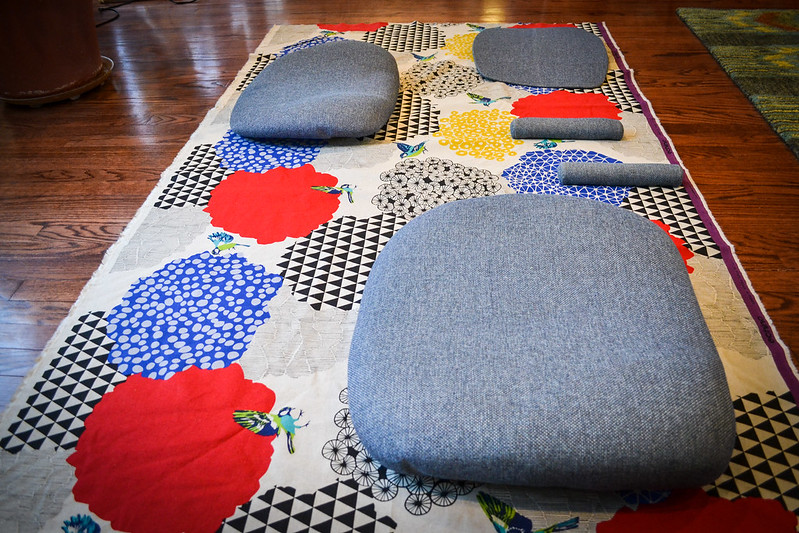
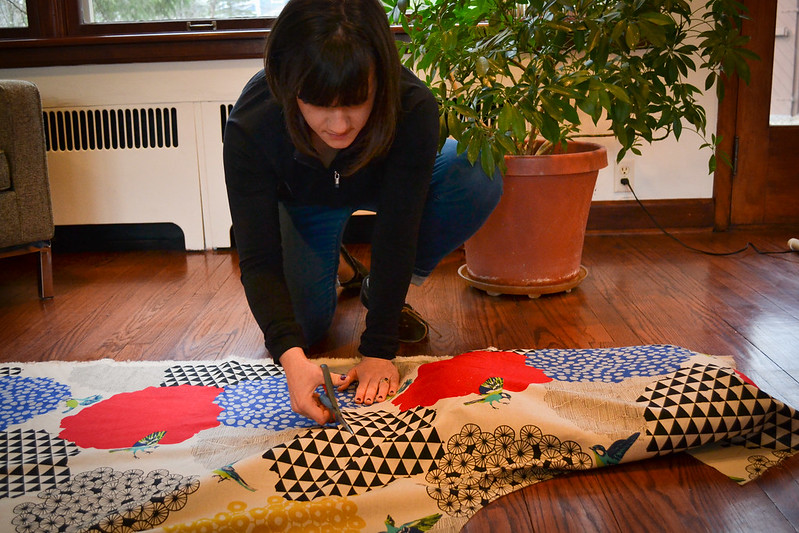
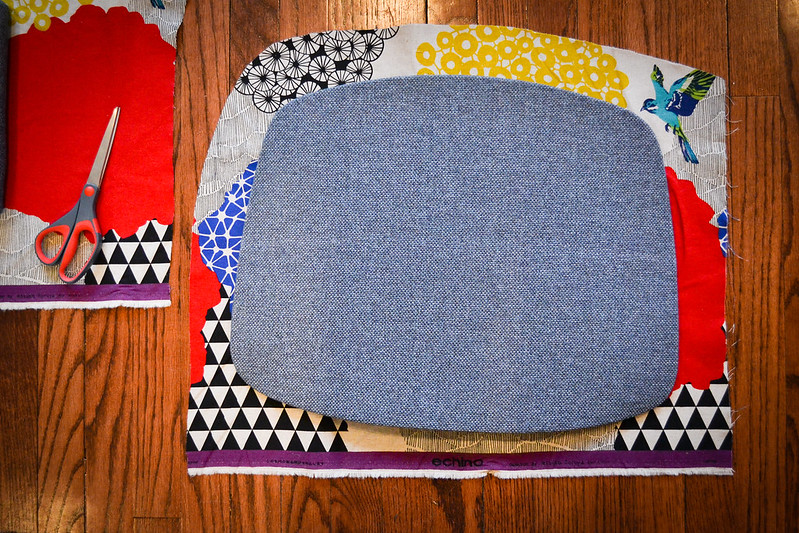
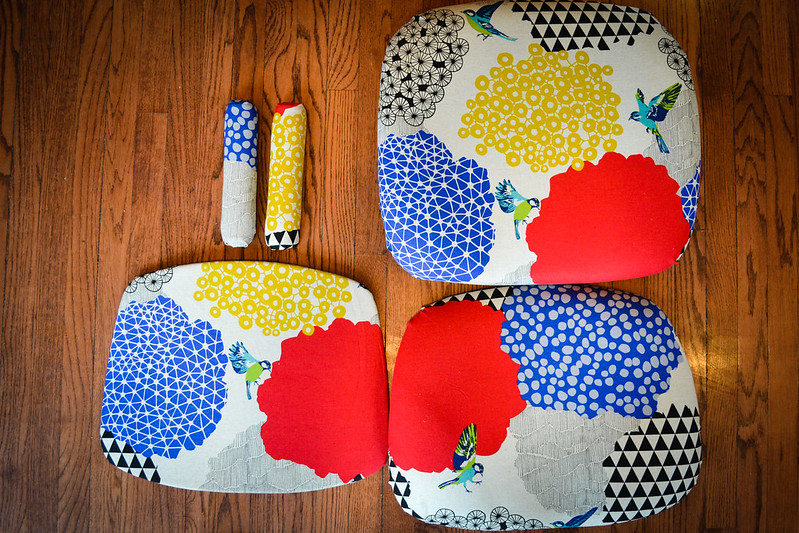
I recommend staying away from fabrics with any sort of straight lines or linear patterns unless you are really good at upholstery. The beauty of the pattern we chose was that if you didn’t get it perfectly straight, it was forgiving. We laid out the pieces, making sure that all the different elements of the pattern would be captured somewhere:
Then cut, giving yourself about 2 inches of slack on all sides:
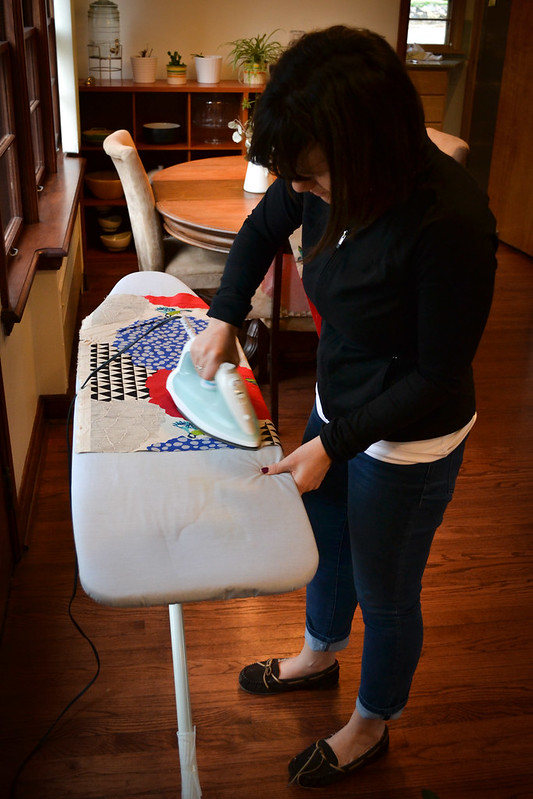
Before you get excited about your upcoming staple gun usage, please iron the fabric:
Step 4: Staple, staple, staple
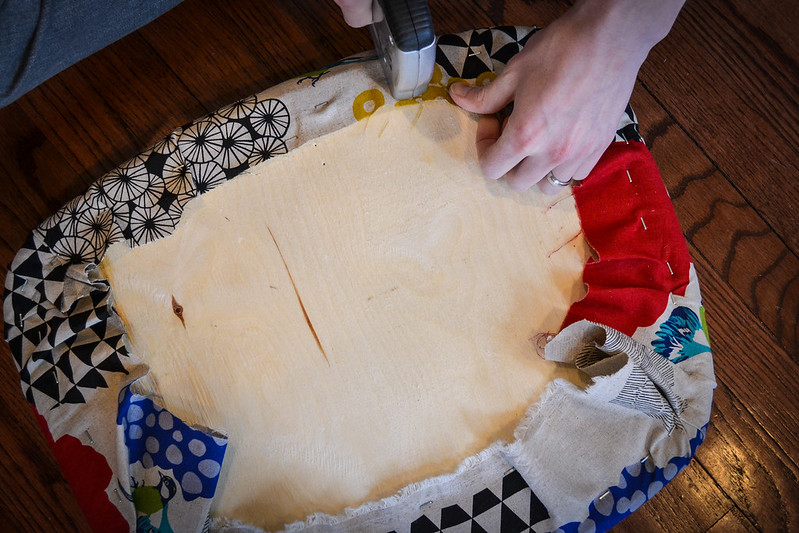
Then comes the fun part, the stapling. Always start with in the center of two opposite sides. Once you’ve got those taught and secure, work your way around the fabric, pulling tightly and making sure the folds are neat and hidden, where possible. You may also need to cut off some of the extra fabric after you attach it.
Here’s what we ended up with:
Step 5: Reassemble Chair
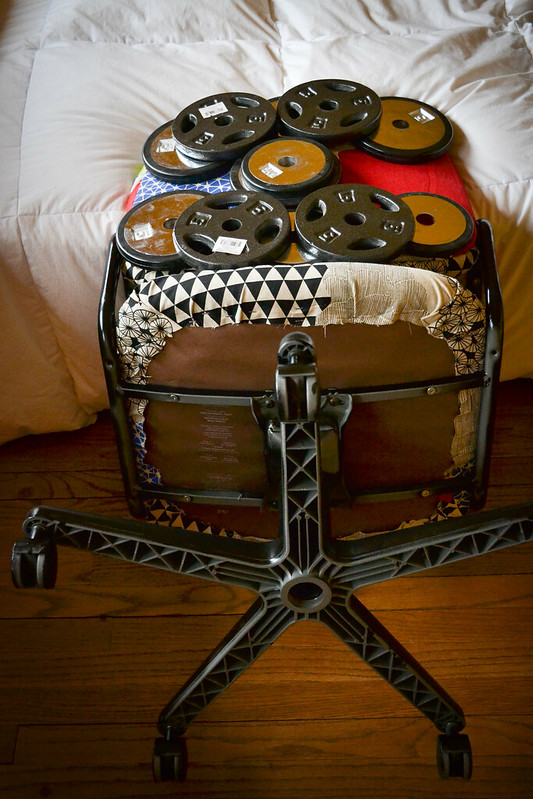
The arms, bottom, and large back piece just screwed right back into the frame. The other back piece of our chair was originally nailed in, but we decided to try a spray-on upholstery adhesive to attach it. We put some weights on it overnight and it worked quite perfectly:
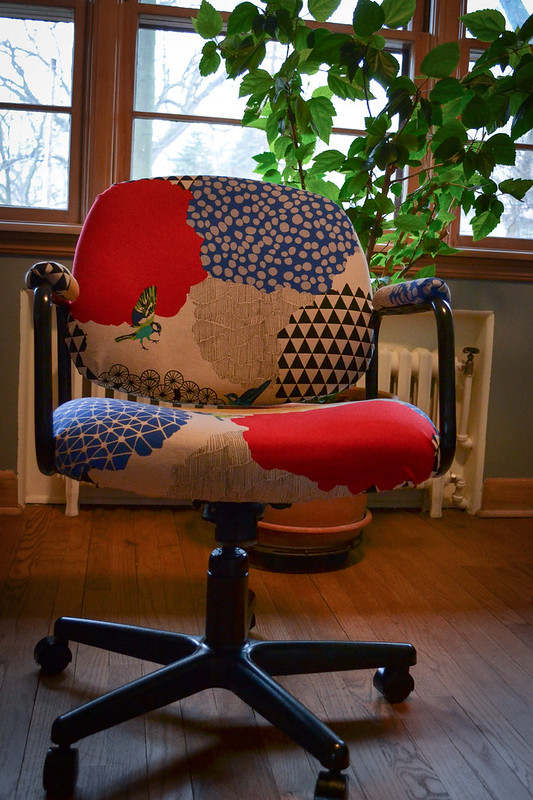
Step 6: Marvel at the Beauty of Your New Chair
This part is self-explanatory.







What fun- I was going to pitch Rod’s UGLY office chair. Not anymore! Off to sewcial ;-)
writes MaryHa Mary that’s perfect. You’ll love the store! And it’s a fun project to tackle :)
writes VickySooo gorgeous and inspiring!! Thanks for sharing :))
writes Belinda ThomollariThanks Belinda!
writes VickyPerfect fabric choice, and really well done! (spotted on AT via facebook!).
writes ninaribenaI’m going to do it on my ripped black clunker which I was going to pitch. Thanks
writes Flangtree@gmail.comYou’ll have to let me know how it turns out!
writes Vickywhat is the spray on upholstery adhesive?
writes nancyHi Nancy – we used ForceField Fast Tack Upholstery Adhesive. You can find it at any big fabric/craft store like JoAnn Fabrics or Michaels.
writes Vicky[…] Reupholstered Office Chair – I get to sit in this project every day, and it continues to make me smile. Plus it was […]
writes Two Year Blog Anniversary and My Best Of Choices - Things I Made Today[…] upstairs furniture, we also finally got around to reupholstering Jason’s office chair, which we did the exact same way we did mine. The fabric for his chair is also by Echino, purchased from the lovely Sewcial […]
writes Dual Purpose Room: Office and Guest Bedroom[…] Hopefully you won’t have this step, although it took us all for 5 minutes. We’re a very effective staple gun team. […]
writes Reupholstering a Nursery Glider[…] (Image credit: Vicky Cassidy) […]
writes Before & After: A Boring Office Chair Blooms With Bold Fabric - Tmarie Linens[…] (Image credit: Vicky Cassidy) […]
writes Before & After: A Boring Office Chair Blooms With Bold Fabric[…] (Image credit: Vicky Cassidy) […]
writes Before & After: A Boring Office Chair Blooms With Bold Fabric | Property Soup[…] (Image credit: Vicky Cassidy) […]
writes Before & After: A Boring Office Chair Blooms With Bold Fabric |Have a couple of office chairs similar to yours that badly need reuphostering for my son n daughter’s room. Important study year ahead . They love their comfortable chairs looks exactly like yours. Fabric is tearing at the seat. Can you help?
writes Lilin TaiI just replaced my office chair (with totally shredded bonded leather junk) of many years with a very comfortable one… However, I did not want to throw the old one out…. your very informative posting has inspired me to try to repair it, (with real leather) not to mention a couple of laughs (loved the way you used weight-lifting weights to weigh down the backing will it sets LOL). Thanks so much!!!
writes EdmundThis post is genuinely remarkable and beneficial. I adore it immensely; it’s fantastic and awe-inspiring. I’m genuinely astonished. I hope you consistently produce content of this caliber in the future. For those seeking Used office furniture and second-hand office furniture in London, Used office furniture in London, and second-hand office furniture please explore my website: Kings Office Furniture.
writes Used office furniture