Hi hi hi hi hi. I’m literally giddy with anticipation for this post.
Over the past couple of months, I’ve been working with Bowen of Bowen Appetit and Sarah of Wisconsin from Scratch (and our kick-ass intern Alice) to create something extra-special. The four of us have been meeting monthly, talking about food, restaurants, Wisconsin, food made in Wisconsin, recipes that totally failed, babies (both Bowen and Sarah are expecting), what we will feed our babies once they have teeth, what it’s like to be a food blogger, and food, food, food, food, food.
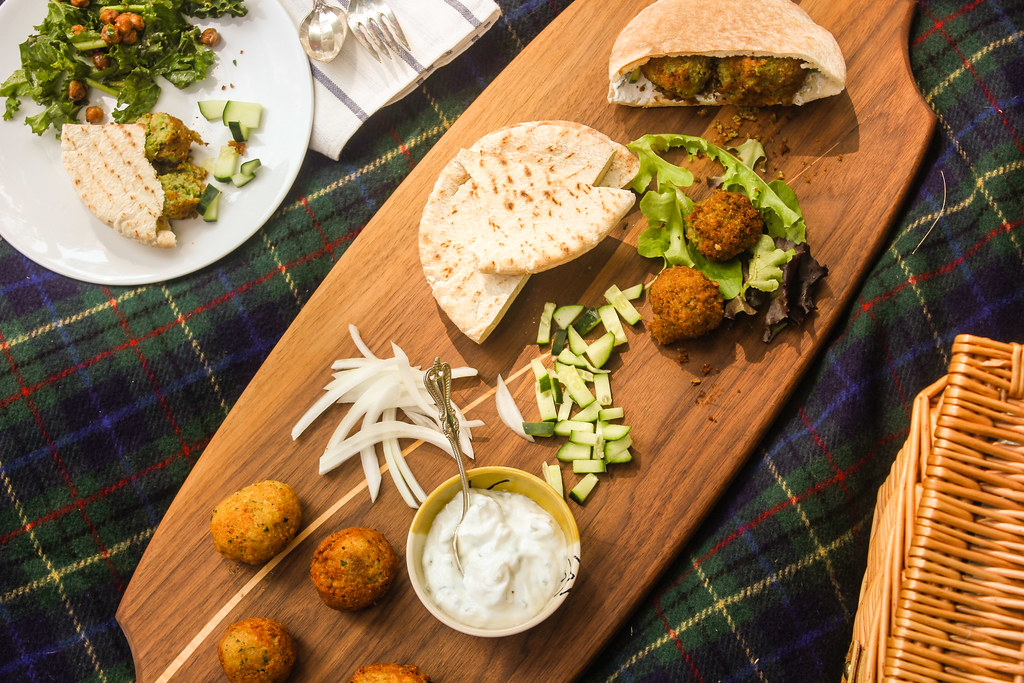
What we realized is this: not only have we formed great friendships but these monthly conversations boost our creativity and make us feel like part of something bigger. We also know that there is so much talent in this foodie city and that we want to bring everybody together and help build a community. So over the past couple months we’ve been working on Whisk: a culinary collective of food bloggers based here in Madison, Wisconsin.
Our aim is to to unite the local food blog community and help bridge connections between bloggers, local Wisconsin food producers, sponsors, and advertisers who are interested in pursuing collaborative efforts. Through Whisk, we hope to build a happier, more delicious local food community.
So fellow Wisconsin food bloggers, we want you to come be a part of this! If you’re interested in joining, you can get more information here. We’ve got some great ideas of where to start, but one of the things we’re looking forward to is getting input from members on the direction they want the group to go in. There is so much potential here. I cannot wait to get started.
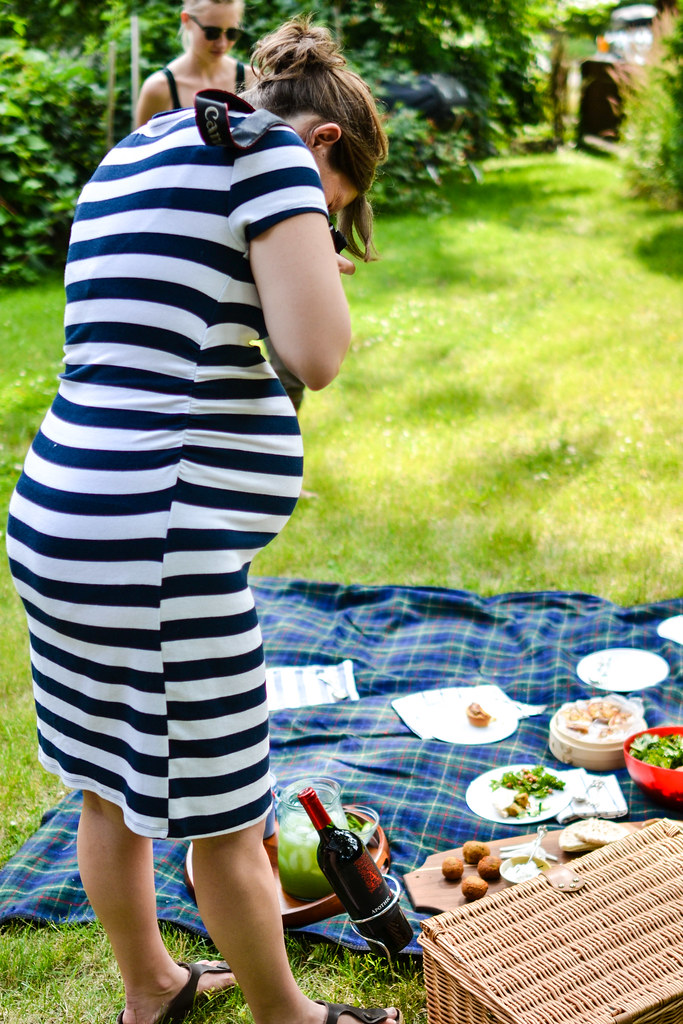
In the spirit of collaboration, the three of us also decided to put together a picnic menu for you all, because we Wisconsinites have to take advantage of eating-outside-weather while it lasts, which we all know is not for long.
Bowen kicked our picnic off with this refreshing cucumber mint aqua fresca, which you can find on her blog.
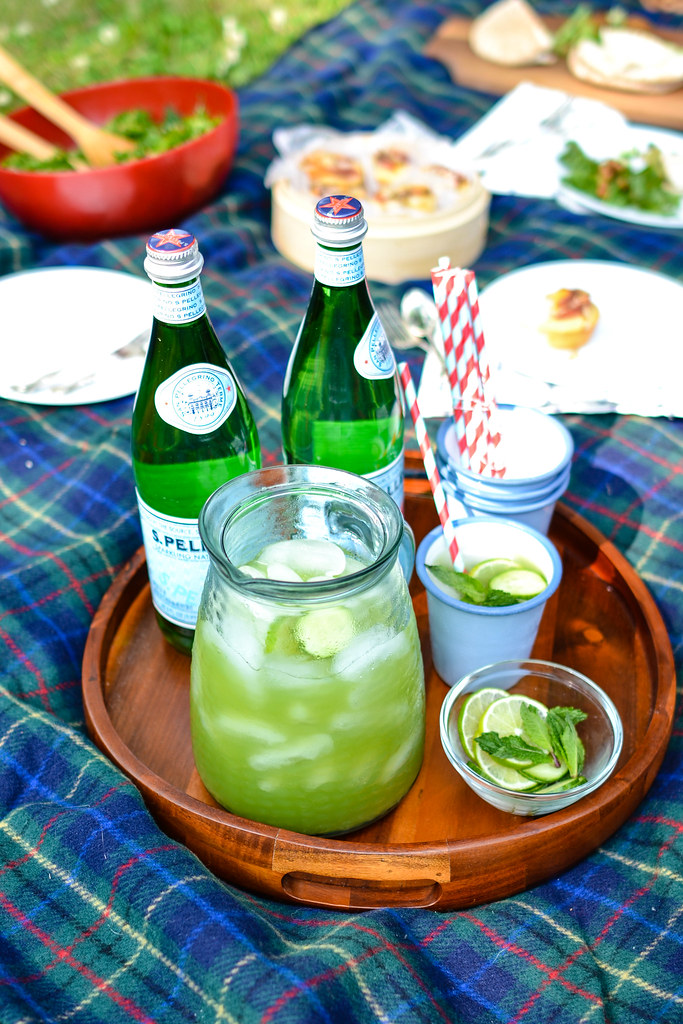
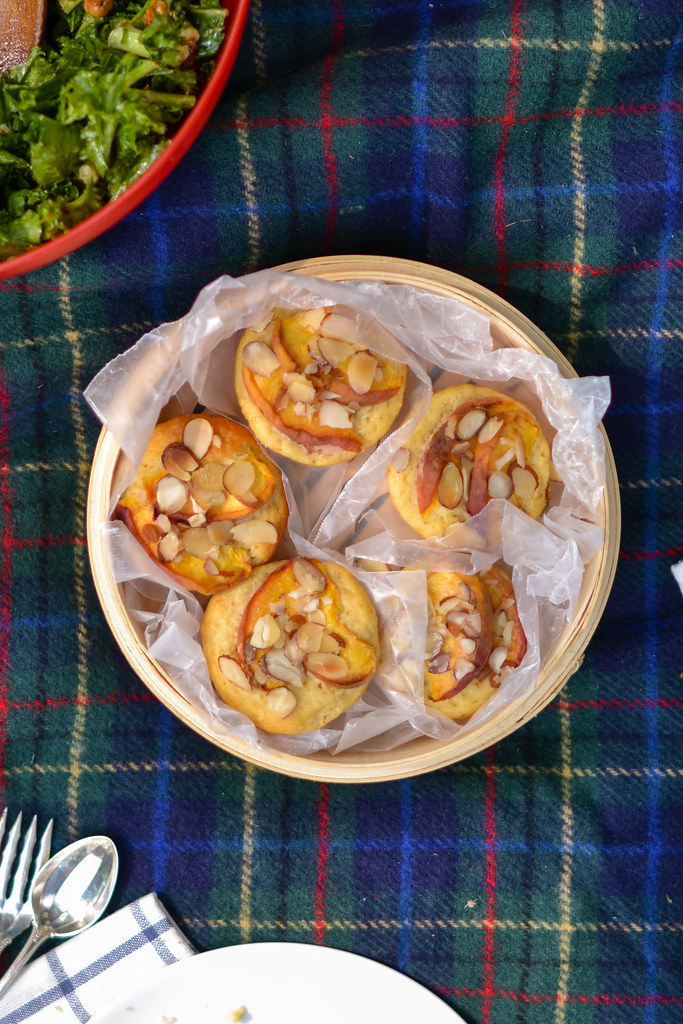
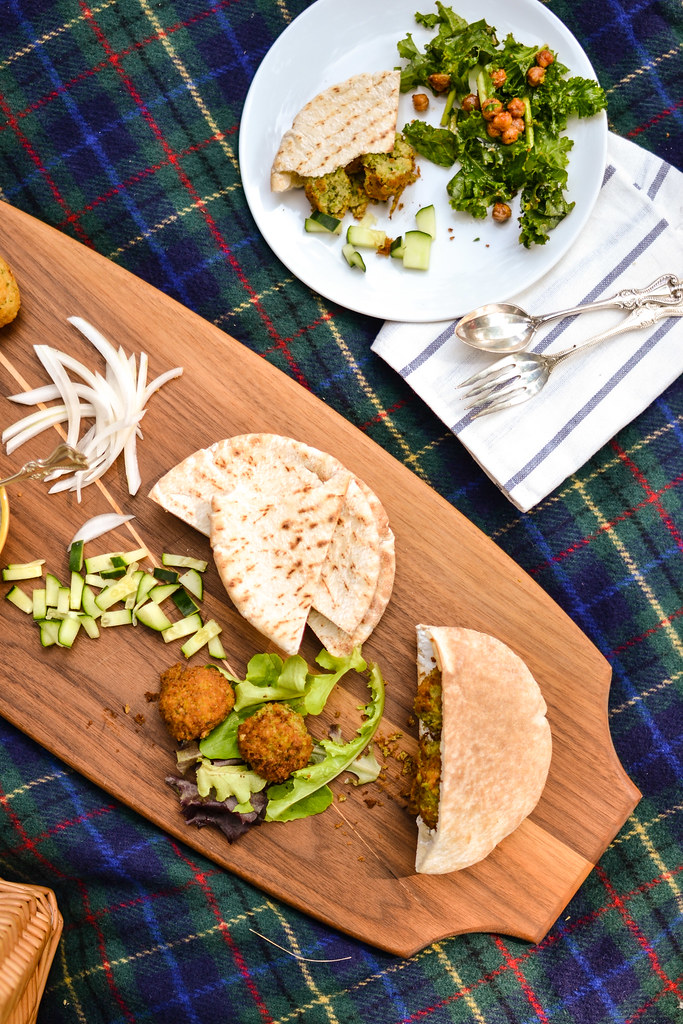
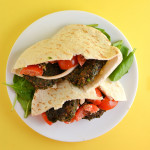
Alice brought a kale and roasted chickpea salad, and I was in charge of the entree: a fava bean falafel with a mint yogurt sauce, stuffed into pitas with your choice of accoutrements. Sarah finished our meal off with mini peach almond cakes for dessert (recipe here), which were to die for.
But let’s turn our attention to the fava bean falafel. We traditionally think of falafel as being chickpea based, but in fact several Middle Eastern cultures use favas instead. While the Egyptians go 100% fava beans, the Lebanese do it 50/50 with chickpeas. I picked up the fava beans at the farmer’s market but didn’t get enough to feed us all, so I decided to try the Lebanese version.
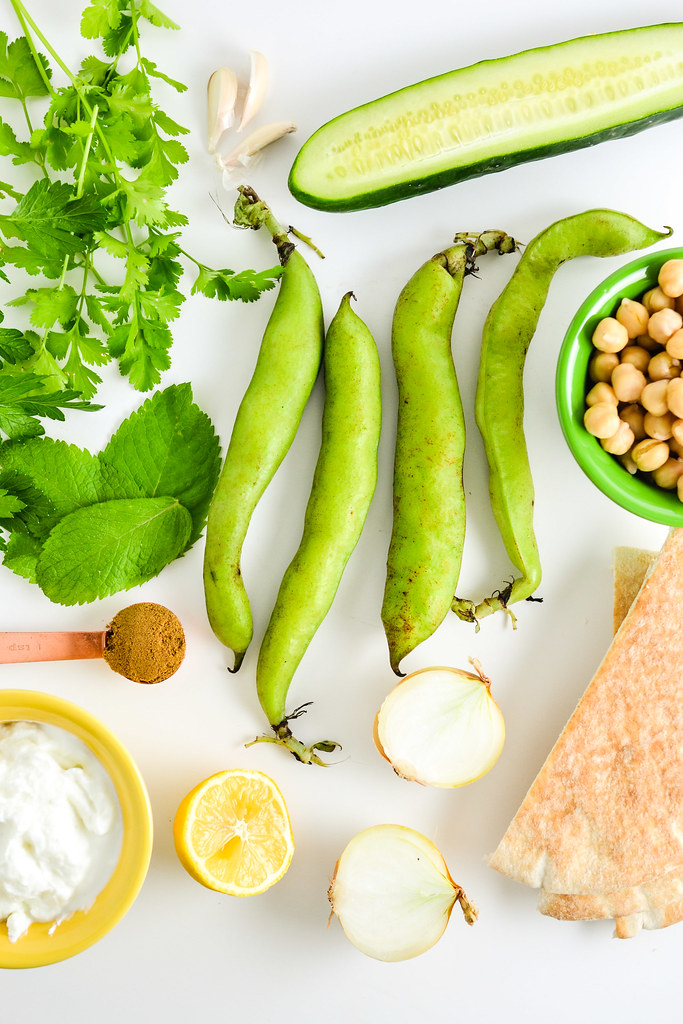
Starting with shelled fava beans certainly adds a few steps to your recipe, but it guarantees the freshest fava taste. If you can’t find fresh favas you can certainly substitute frozen which can be found year round and most higher-end grocery stores. Speaking of shelled fava beans, if you’ve never seen them before, they look like monster snap peas. And I mean monster.
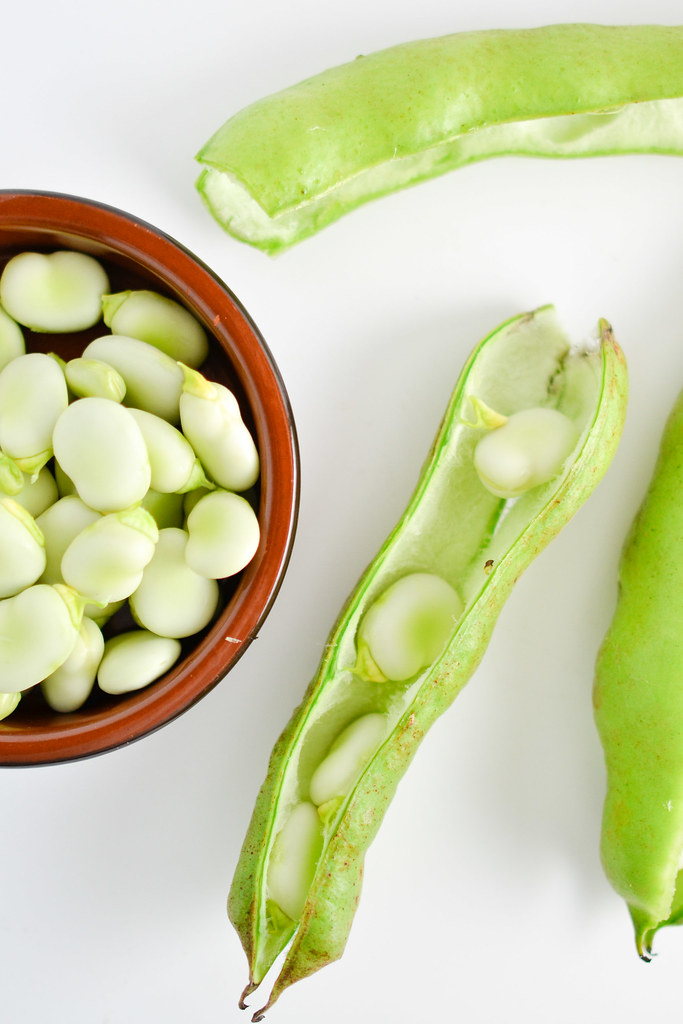
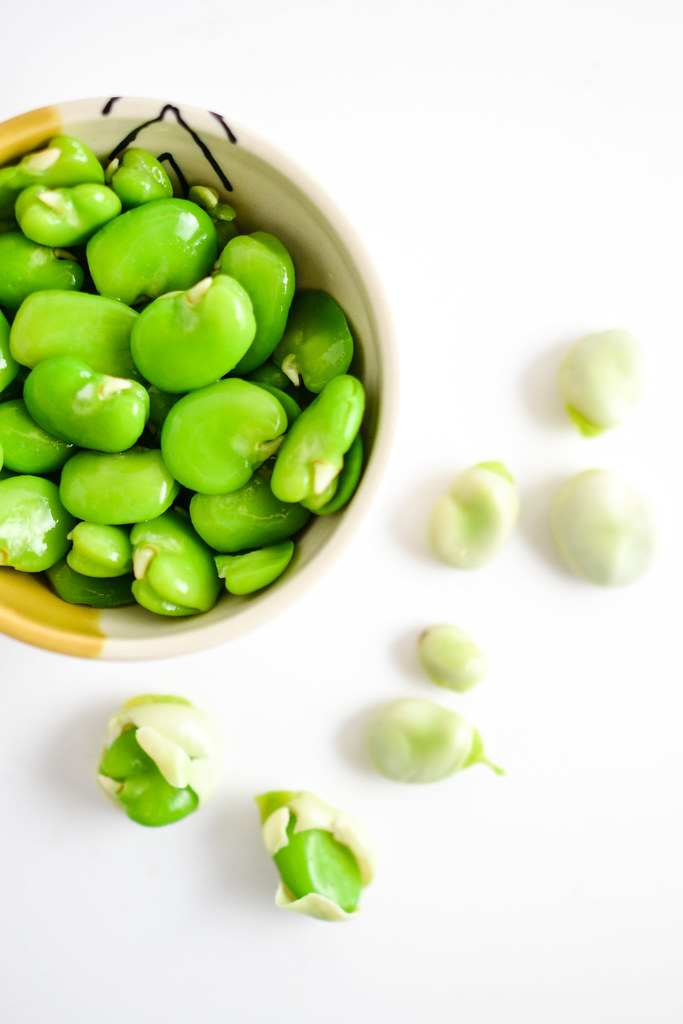
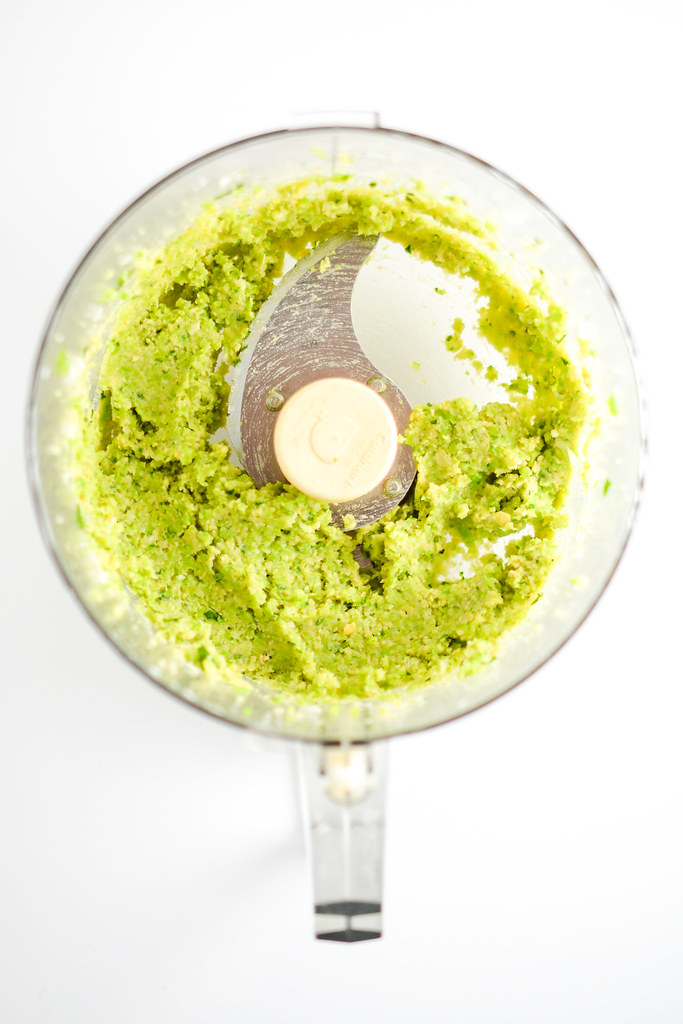
Once the beans are blanched and shelled, you’ll whiz them in a food processor with the remaining ingredients.
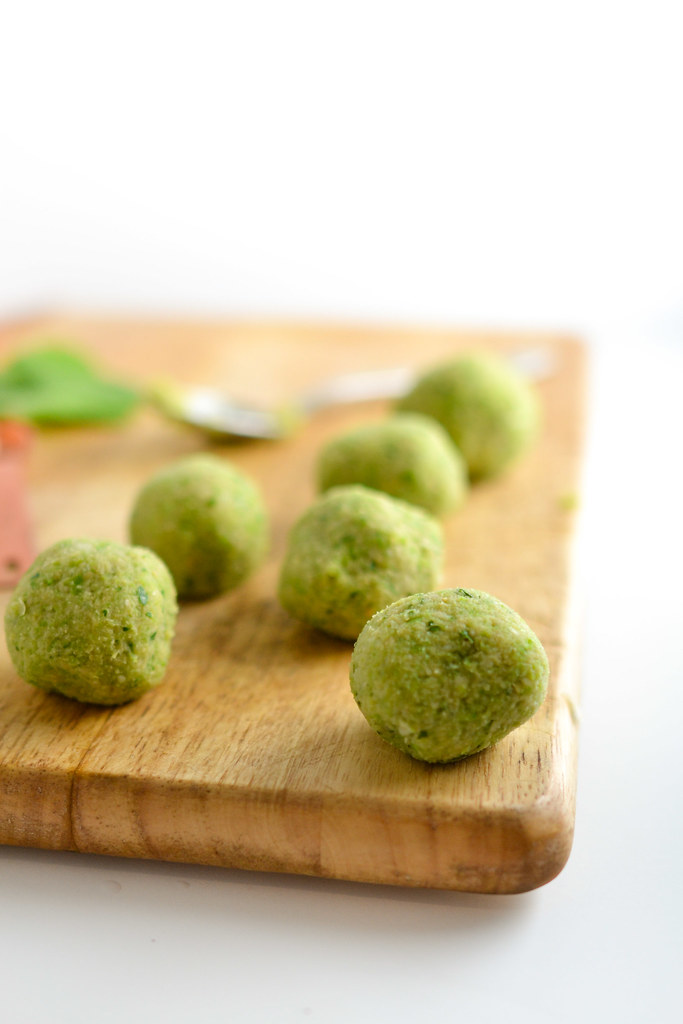
Forming them into balls is pretty easy. The mixture should be just wet enough to stick together.
Then comes the frying part, which is always a fun thing to do at home. I recommend using a heavy bottomed cast iron pot and a candy thermometer (recommendations for the best kind can be found here) to make sure you don’t hurt yourself and that you make the least amount of mess possible.
Once fried, you can eat the falafel right away. But if you’re picnicking, let them cool and then store in an air tight container for up to a day in the fridge. Let them come to room temperature before serving.
- 2 - 2½ pounds fresh fava beans in their pods, or about 1 cup frozen fava beans
- 1 cup canned cooked chickpeas
- 2 tablespoons fresh parsley
- 2 tablespoons fresh cilantro
- 2 garlic cloves, chopped
- ¼ of a large yellow onion, chopped
- ½ teaspoon Kosher salt
- ½ teaspoon ground cumin
- Canola oil for frying
- 1 cup Greek yogurt
- 8 mint leaves, chopped
- juice of ½ lemon
- salt and pepper to taste
- 4 pita pockets
- 1 cucumber, sliced thin
- Arugula or spinach
- Thinly sliced onion
- If starting with fresh fava beans, remove beans from pod. Fill a medium sized bowl with ice water and set aside. Next, bring a medium sized pot of water to boil. Drop beans in and cook for 30 seconds. Drain water and transfer beans immediately to ice water to cool. After about 5 minutes, remove beans from ice water and peel the outer waxy layer, so the bright green fava bean is revealed. Measure out 1 cup of beans.
- If starting with frozen fava beans, simply defrost.
- Add 1 cup of fava beans, chickpeas, parsley, cilantro, garlic, onion, salt, and cumin to a food processor and pulse until smooth.
- Using your hands, roll mixture into balls, about two tablespoons each, until it is used up (makes about 12 falafels).
- Fill a heavy bottomed pot with about 3 inches of canola oil. Heat the oil until its 375F (candy thermometer comes in handy here). Drop falafel, 2-3 at a time, into the oil and fry until it turns a nice brown color on the outside, about 3 minutes. Using a slotted spoon, transfer the falafel to a paper towel lined plate. Repeat until all falafel are cooked.
- In a medium sized bowl, mix together yogurt, mint, lemon juice, salt and pepper.
- Stuff pita pockets with falafel, cucumbers, onions, greens, and any other accoutrements you desire. Top with mint yogurt sauce.
- If you are not planning on eating them right away, let falafel cool and then store in an air tight container for up to a day in the fridge. Let them come to room temperature before serving.




These look amazing!!! But I love the idea of WHISK!!! What a GENIUS way to come together!!! Brilliant! Gives me an idea to have meetings with my fellow Chicago bloggers :)
writes Girl and the Kitchen[…] See full post at Things I Made Today >> […]
writes Fava Bean Falafel - Wisconsin WhiskHi! great article. Thank you. Can you tell me where I can buy Fava beans in Madison?
writes jay lee